You can localise the following Settings for your KWS environment: Basic information, Branding, and Permissions.

Supported languages
KWS supports the following languages:
- Chinese, simplified (zh)
- English (en)
- French (fr)
- German (de)
- Italian (it)
- Japanese (ja)
- Korean (ko)
- Portuguese, Brazilian (pt-br)
- Russian (ru)
- Spanish (es)
- Thai (th)
Localise your app’s basic information
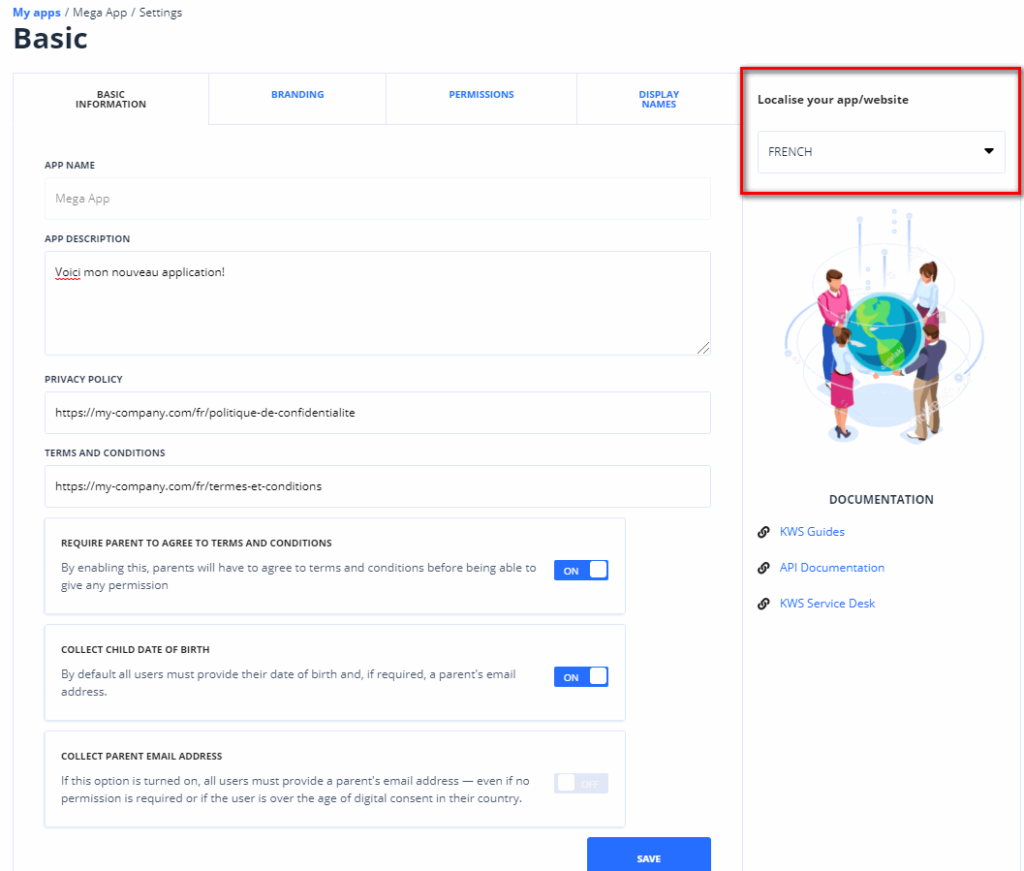
In the Basic Information tab, select the required language from the dropdown menu on the right-hand side, and then enter the localised settings and click Save.
For example, you may need to link to a French version of your privacy policy and terms & conditions for French-speaking users:
Localise your branding
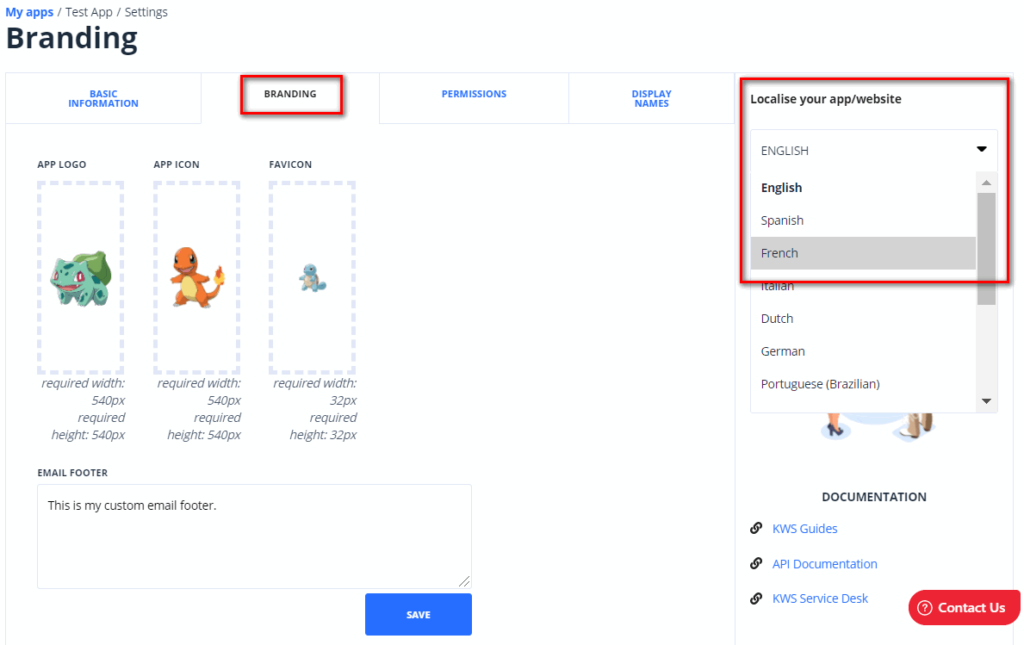
In the Branding view, you can upload localised branding assets. You can also provide a localised email footer for the emails that are sent to users and their parents.
For example, to upload custom assets for your French-speaking users, select ‘French’ from the dropdown menu on the right-hand side, and then upload your assets as usual:
Contact your Implementation Manager if you need to localise any additional branding items.
Localise your app’s permissions
If you wish to provide app permissions and/or copy in multiple languages:
- Prepare your permissions and copy text in the required languages.
- Contact your Implementation Manager, who will upload the localised permissions and copy to your KWS environment for you.
- When the upload is complete, you can view the localised permissions and copy in the Permissions tab by selecting the required language from the dropdown menu on the right-hand side:
